

I removed the PAIR system on my '02 919 today, installed semi-gray's block off plates and replaced the spark plugs while I was at it. Ken's excellent directions helped me through it with no problems, thought I'd post a few of my own pictures, along with some lessons learned that made it easier for me.
Entire project took about 2 hours from start to finish, taking my time and proceeding carefully. Probably could do it again in 30 minutes now that I learned a few tricks.
I'm very pleased with the final result, totally eliminated the popping and backfiring on decel, seems to have smoothed out some jerkiness at low speed constant rpm's as well. The new plugs make for an easier start up, not that it started hard before, but just fires instantly now. Also idles more smoothly, none of the loping that I experienced before.
Hope this helps someone else. I highly recommend getting rid of the PAIR system and installing semi-gray's blockoff plates, which by the way, are perfectly machined and fit like Honda made them.
Started out with Ken's directions: http://www.wristtwisters.com/forum/showthread.php?t=5438&highlight=pair+removal
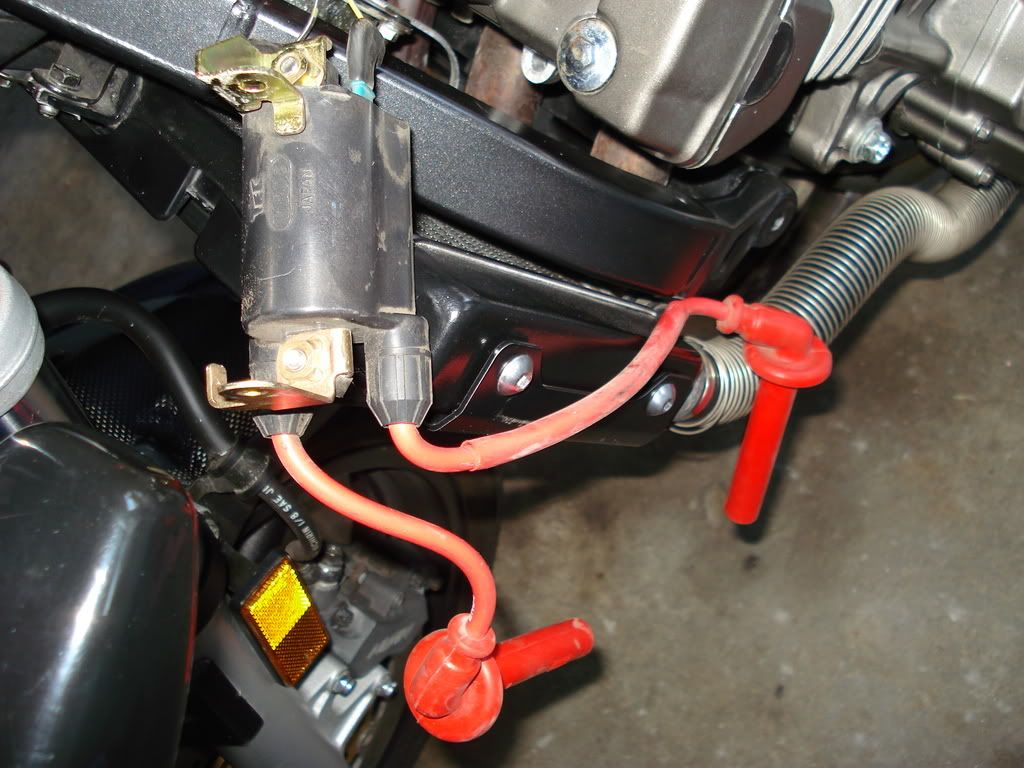
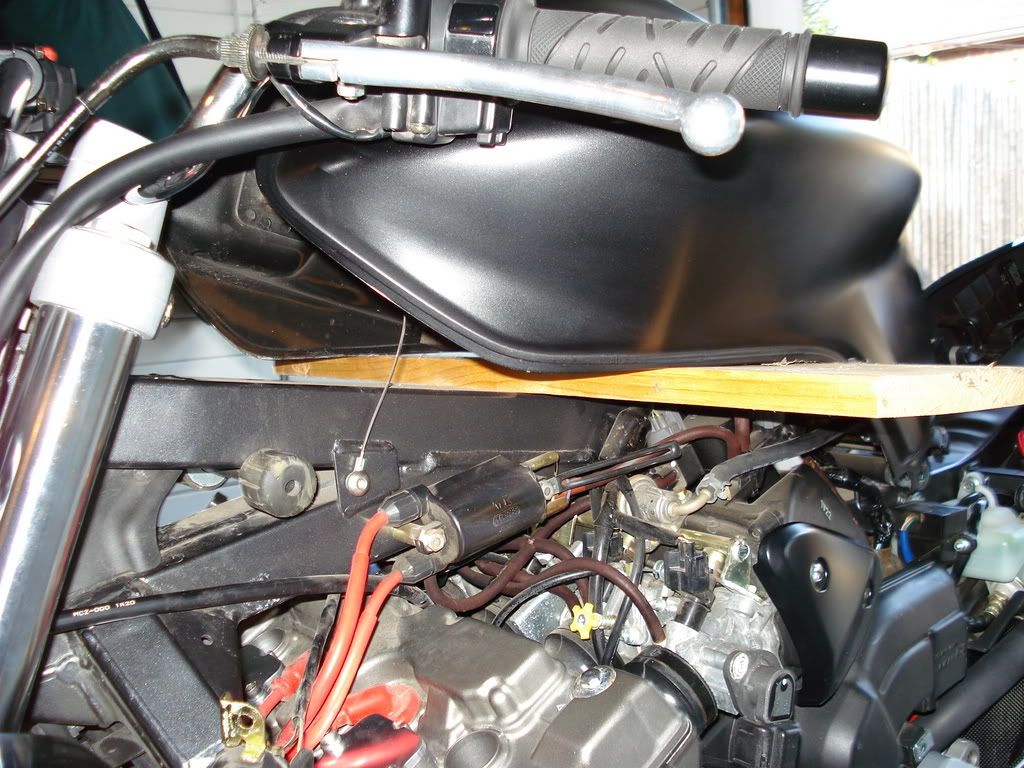
I found it easier for both the PAIR removal and spark plug replacement to unbolt the 1-4 coil and move it out of the way
![Image]()
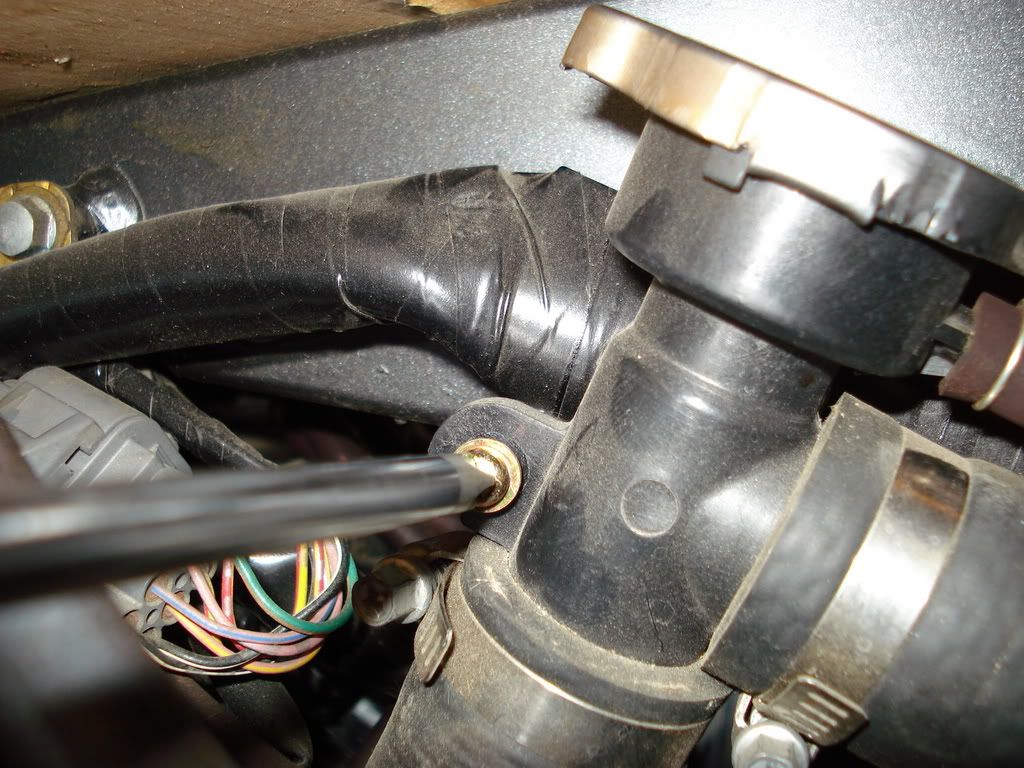
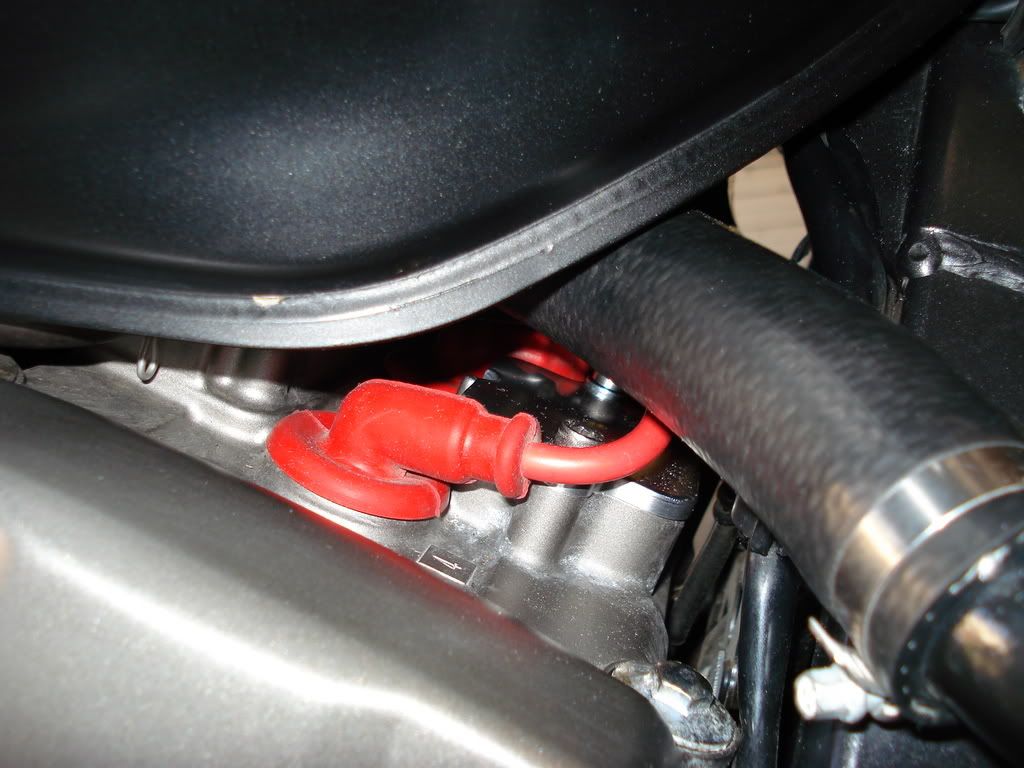
I also figured out that if I removed the screw holding the water hose junction in place, I could move the hoses out of the way and make the right side PAIR removal and 3-4 plug replacement much easier
![Image]()
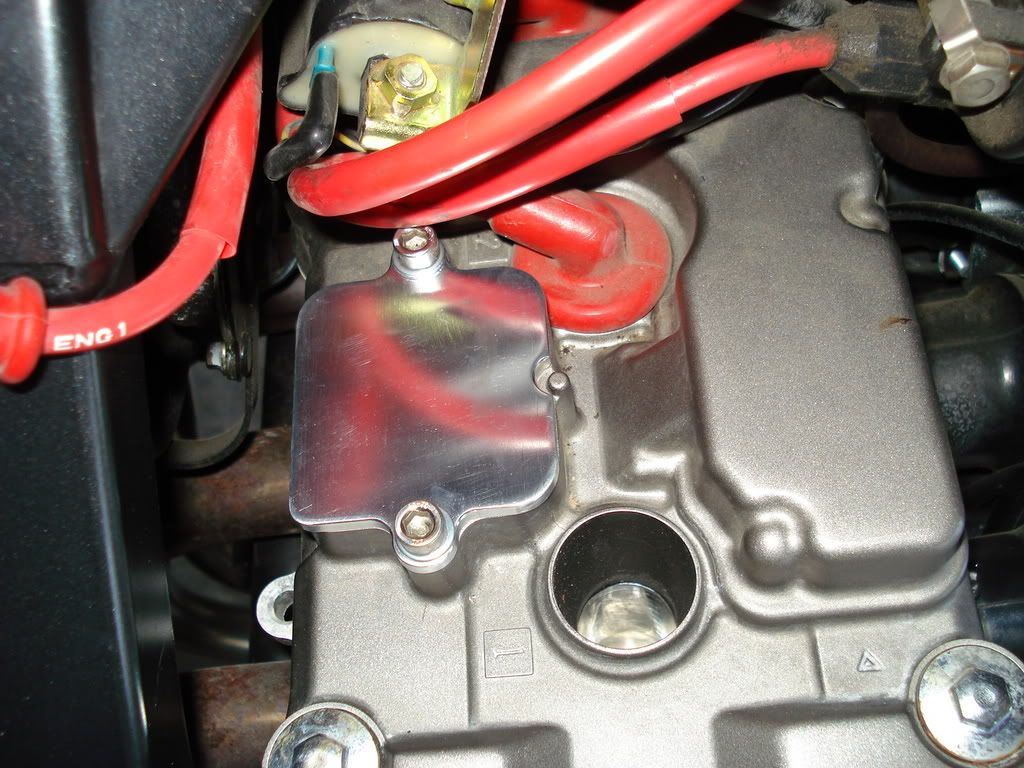
Left block off plate installed
![Image]()
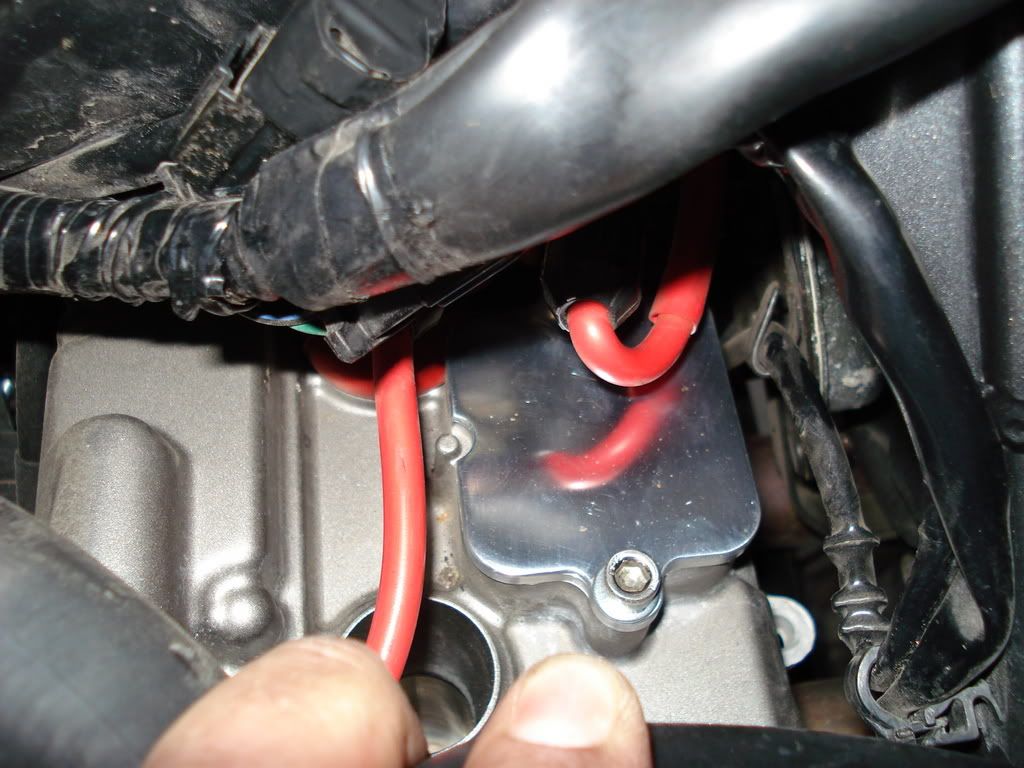
Right block off plate installed
![Image]()
Taped off electrical connector for PAIR valve
![Image]()
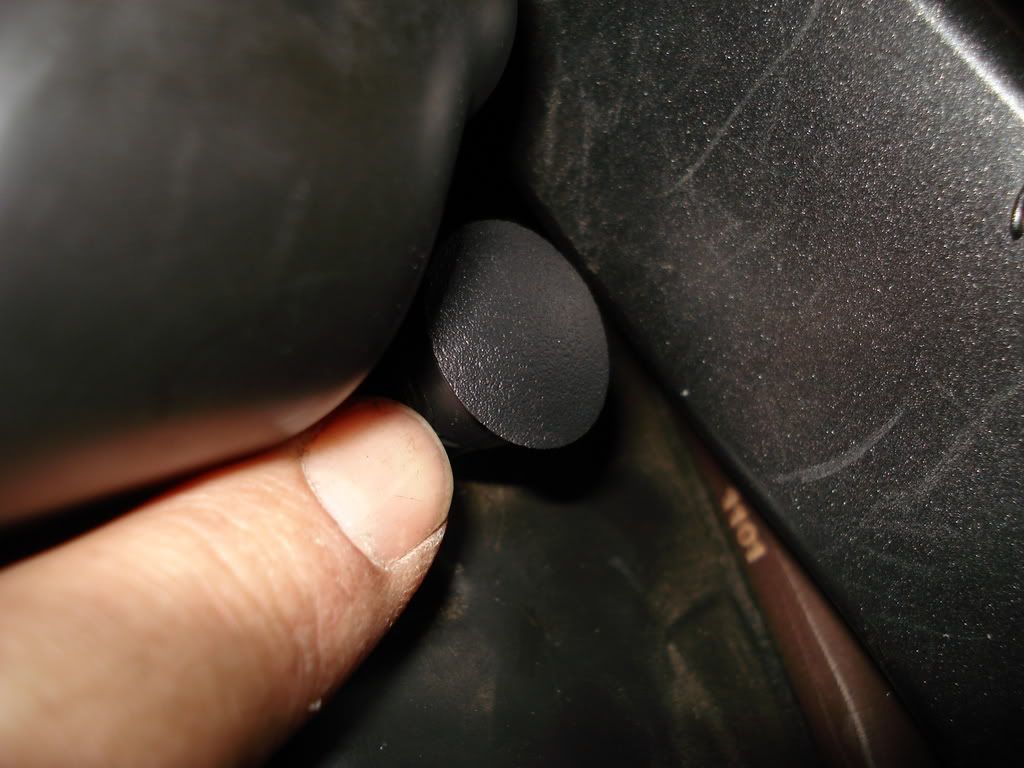
Found the perfect trim plug to close off the hose nipple at the airbox, a bit of electrical tape around the nipple and the plug was a perfect fit
![Image]()
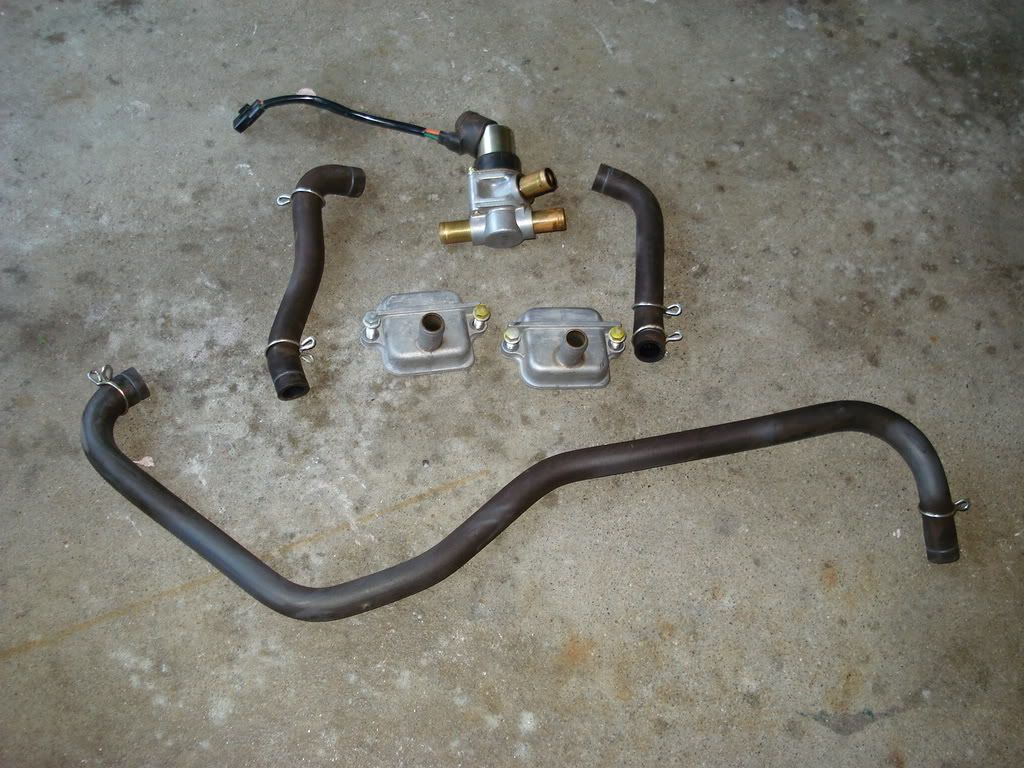
PAIR system parts removed
![Image]()
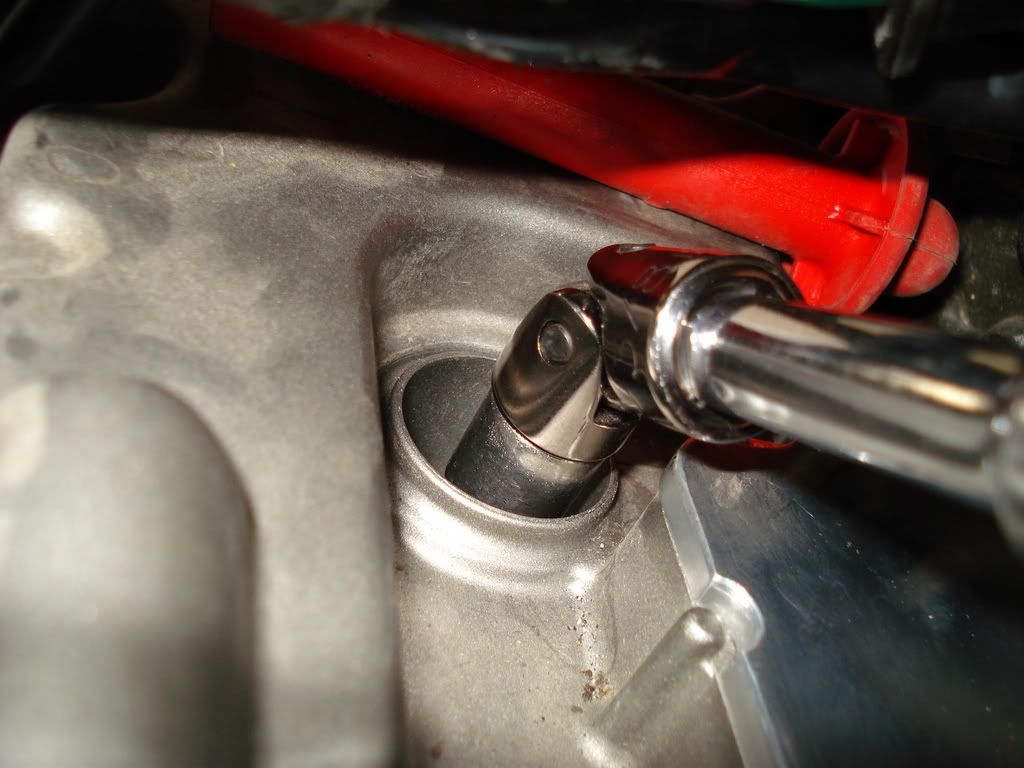
#3 spark plug is a bitch! Flexible extension, combined with two short extensions managed to get the job done. Quite the trick to pull the plug up out of the hole though, as my extension was too long to come out attached to the plug socket without hitting the frame, took some major finger dexterity to solve that one!
![Image]()
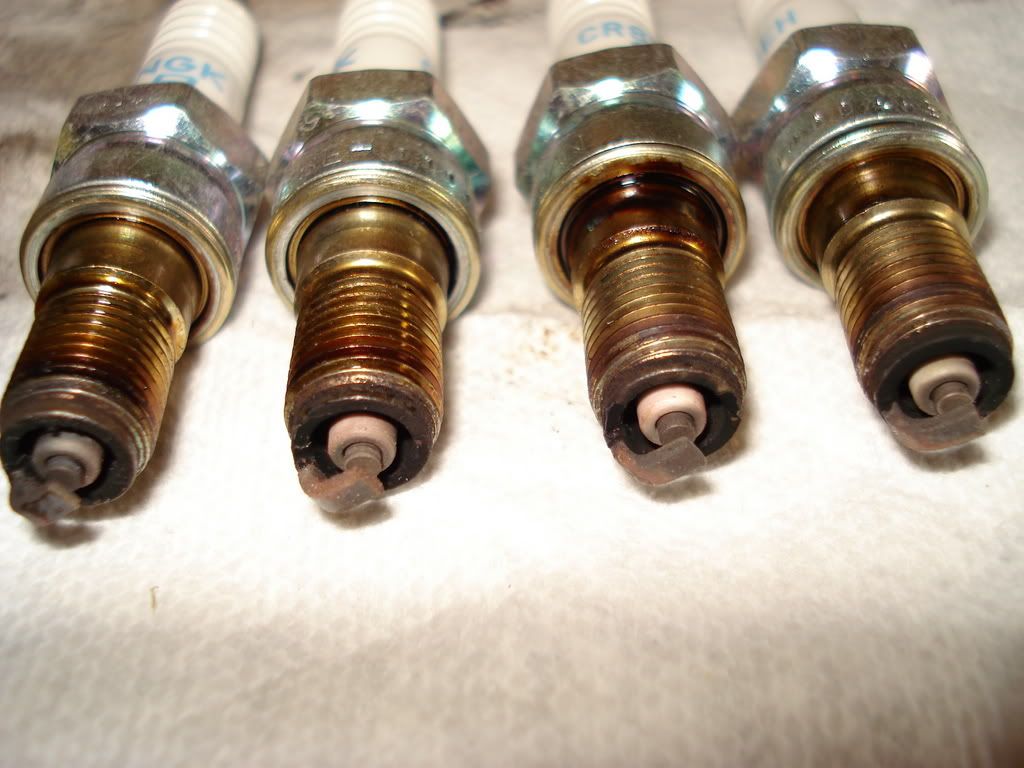
Original spark plugs @ 7290 miles. Still looked pretty good
![Image]()
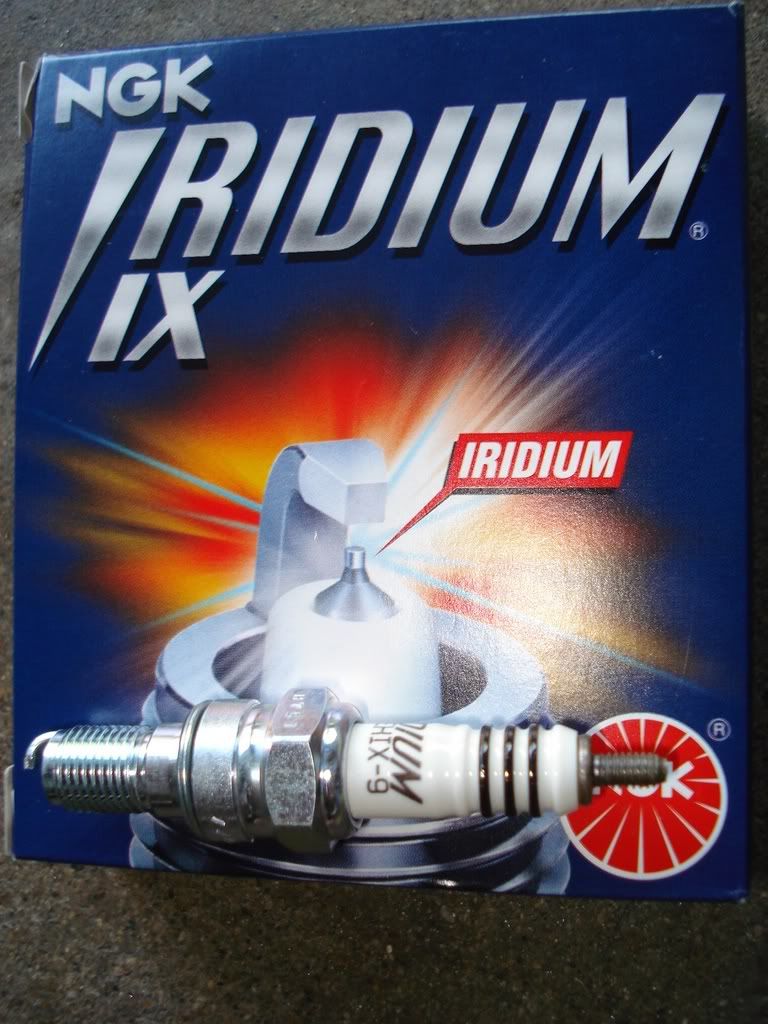
But the precious metal ones will be better!
![Image]()
Almost ready for reassembly
![Image]()
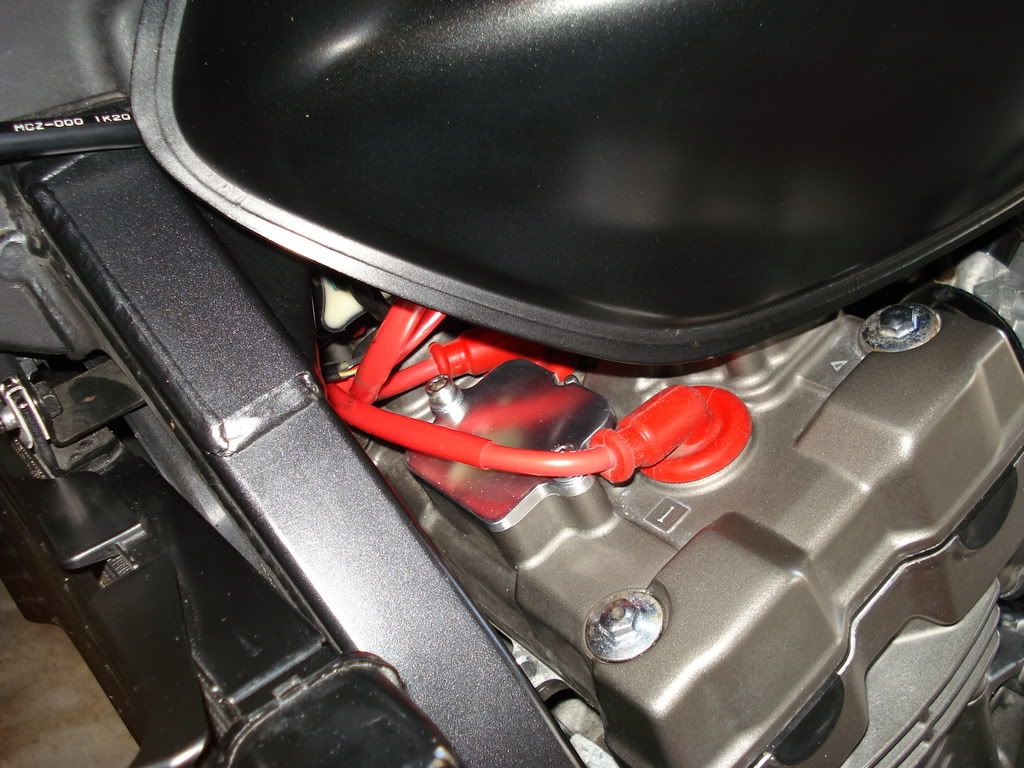
Left side completed
![Image]()
Right side completed
![Image]()
Entire project took about 2 hours from start to finish, taking my time and proceeding carefully. Probably could do it again in 30 minutes now that I learned a few tricks.
I'm very pleased with the final result, totally eliminated the popping and backfiring on decel, seems to have smoothed out some jerkiness at low speed constant rpm's as well. The new plugs make for an easier start up, not that it started hard before, but just fires instantly now. Also idles more smoothly, none of the loping that I experienced before.
Hope this helps someone else. I highly recommend getting rid of the PAIR system and installing semi-gray's blockoff plates, which by the way, are perfectly machined and fit like Honda made them.
Started out with Ken's directions: http://www.wristtwisters.com/forum/showthread.php?t=5438&highlight=pair+removal
I found it easier for both the PAIR removal and spark plug replacement to unbolt the 1-4 coil and move it out of the way
I also figured out that if I removed the screw holding the water hose junction in place, I could move the hoses out of the way and make the right side PAIR removal and 3-4 plug replacement much easier
Left block off plate installed
Right block off plate installed
Taped off electrical connector for PAIR valve
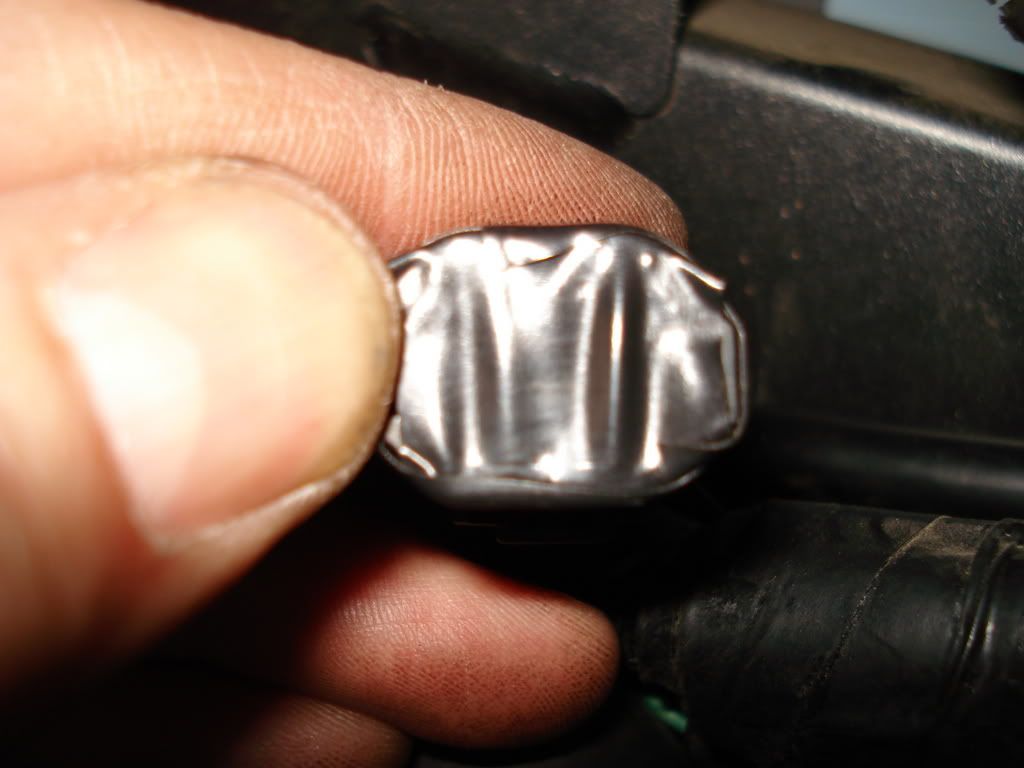
Found the perfect trim plug to close off the hose nipple at the airbox, a bit of electrical tape around the nipple and the plug was a perfect fit
PAIR system parts removed
#3 spark plug is a bitch! Flexible extension, combined with two short extensions managed to get the job done. Quite the trick to pull the plug up out of the hole though, as my extension was too long to come out attached to the plug socket without hitting the frame, took some major finger dexterity to solve that one!
Original spark plugs @ 7290 miles. Still looked pretty good
But the precious metal ones will be better!
Almost ready for reassembly
Left side completed
Right side completed
") Tell us if you notice any difference in those new plugs!
Tell us if you notice any difference in those new plugs!


